我曾经有考虑过购买一条 Yubikey 来作为 U2F 验证用途,但是鉴于最便宜的 YubiKey 5C NFC 都要$58 美刀,所以还是忍住没下手(错过了 Cloudflare 曾经的 10 刀优惠 :()
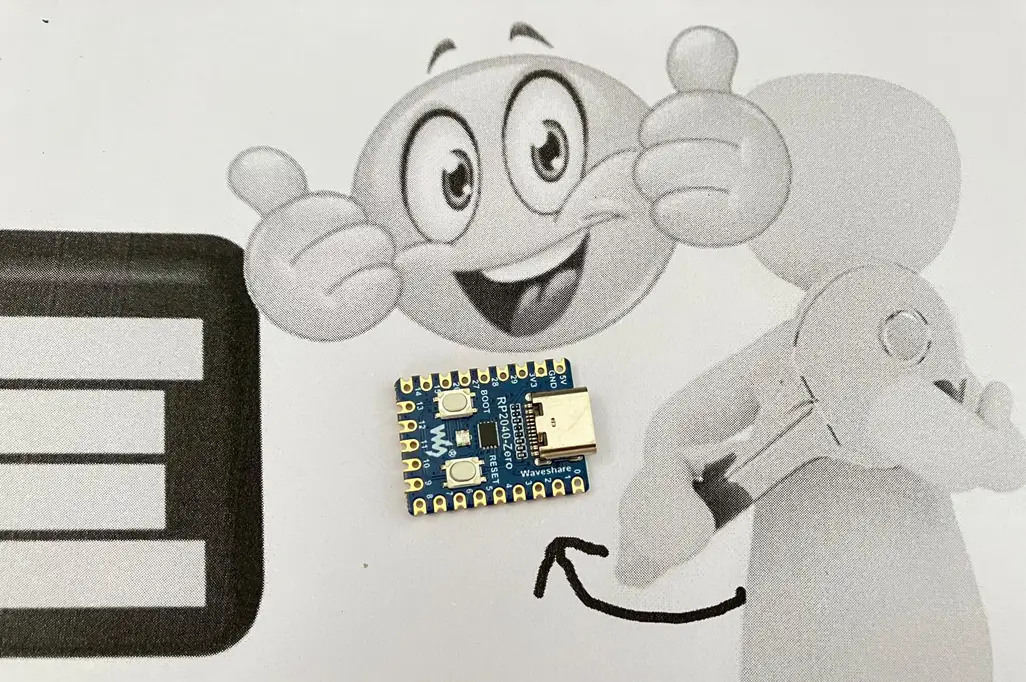
直到昨天我发现了一个开源项目 Pico FIDO(曾名 Pico Keys)可以把 ESP32-S3/RP2035/RP2040 变成一条类似 YubiKey 的实体密钥,刚好我剩下一块微雪的 RP2040-Zero 开发板就利用上了
RP2040 在购物平台上的价格平均在 10 元左右,算是很划算了,但是需要注意 RP2040 内储存的密钥在被物理接触时是可以被盗取的,而其余两个则无此风险,严格注意安全的需要注意了
刷写固件
要给 RP 系列开发板刷固件很简单,以我手上这块为例,只需要按着板上的 BOOT 按钮再连接 USB 线,电脑就能识别到一个盘符,名称是 RPI-RP2
从GitHub上下载最新的发行版固件(我用的是 pico_fido_pico-7.6.uf2),直接拖到开发板盘里就能自动刷固件,安装完成后会自动重启
重启后你的开发板就变成了一个可以用于 FIDO2 验证的物理密钥,可以直接在需要 U2F 的网站添加使用,也可以到https://webauthn.io测试登录
这个项目曾经有一个很方便的设置网页,但是在前几个月变成了一个收费€29 欧元的 PicoKey App,我是不会付费的,且不设置也能正常使用,就没有多折腾了
使用密钥
这里以 Vaultwarden 为例,任意支持 Passkey 登录的平台理论上都适用
在 Vaultwarden 后台左侧的设置>安全里找到 Two-step login 选项,找到 Passkey 选项,输入密码库的主密码后便能添加密钥(这里如果唤醒的浏览器插件内置的 Passkey 选择,找到插件的“使用实体密钥”或类似选项)
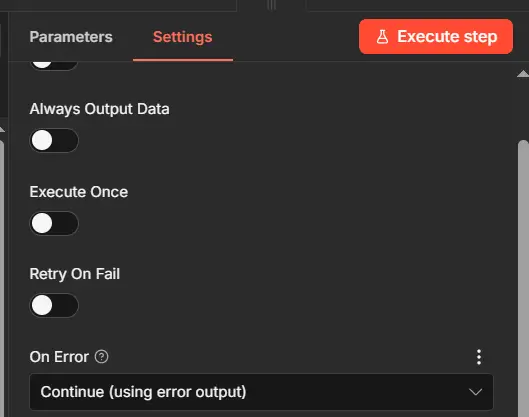
首次使用密钥需要设置一个密码,以后每次认证都需要输入一次,设置密码后按 BOOT 按键来认证
然后再到 Master password 页,打开 Log in with passkey,这样以后登录便无需输入邮箱
配置后每次登录的流程为: 点击使用 Passkey 登录>输入密码>按实体认证按钮(在 Vaultwarden 还需要再输入一遍主密码)
封面图是我把背景打印出来再把板子放上去拍照而来 😛